Sharing via Social Media
Let your audience know about your latest publication by sharing it via social media.
Once your publications is Public, you can share the publication on Facebook, Pinterest or Twitter via the Share option in Publitas.
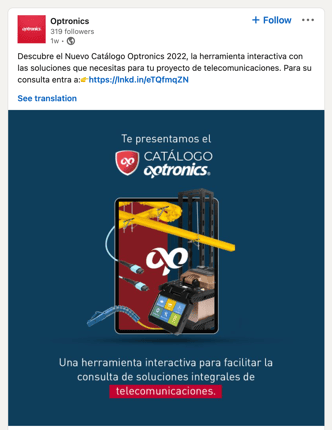
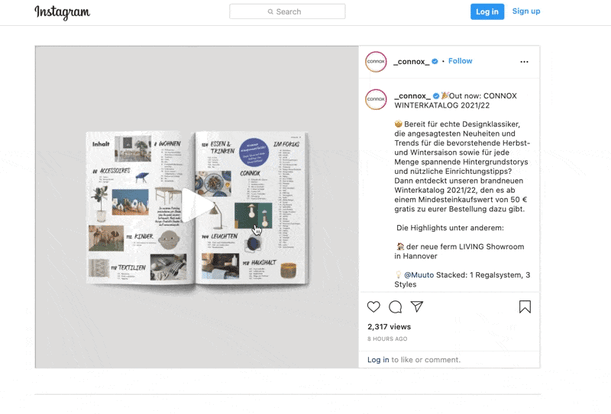
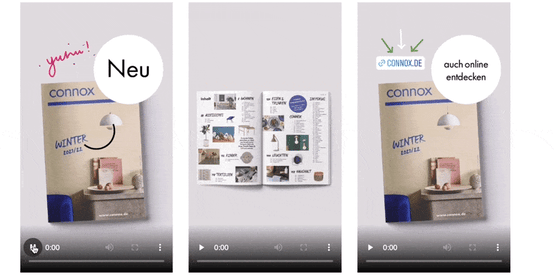
With the public link to the publication you can also promote it on Instagram, LinkedIn, Whatsapp or other media available to you.
Complete the promotion by writing a compelling description and adding an attractive image video or animation to make it stand out even more. Below you can find several examples to draw inspiration from.
Instagram post:
Instagram stories:
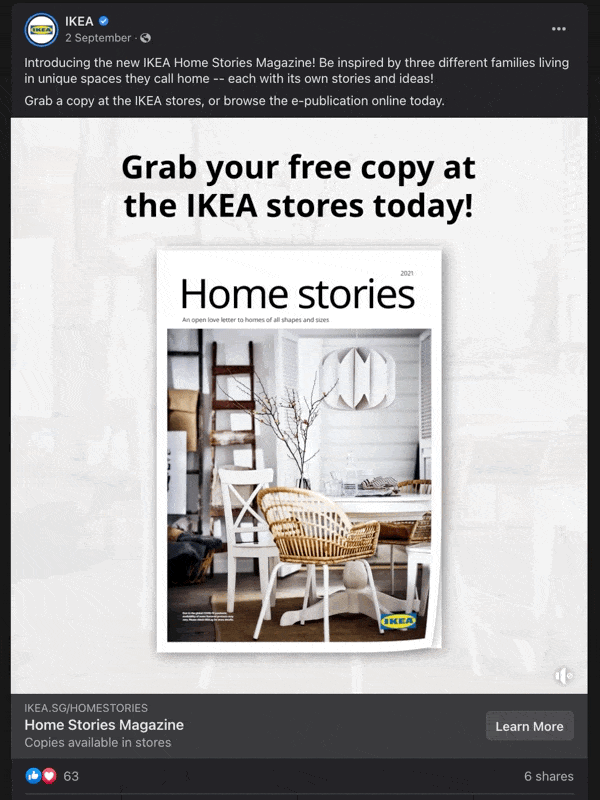
Facebook post:
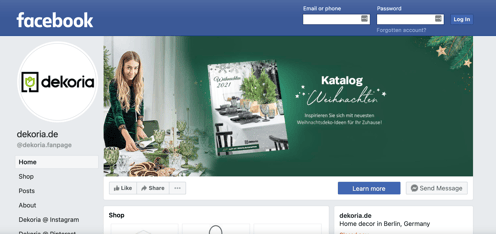
Facebook banner:
Pinterest board: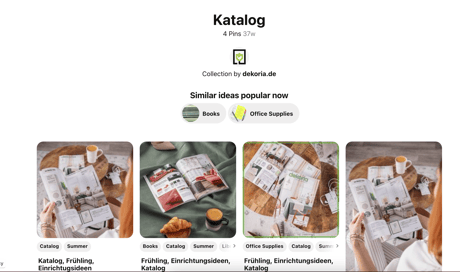
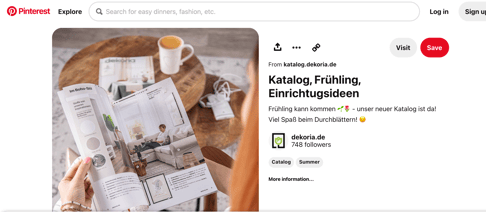
Pinterest pin:
LinkedIn post: